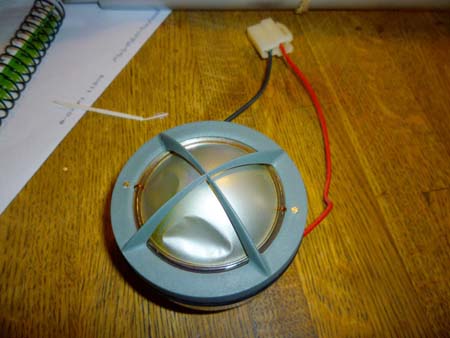
In the kitchen, we sat down and took a couple of deep breaths before moving on to the next few steps of the process, which I imagined would be infinitely more dangerous. We set down the damaged drive-unit (seen here) and got to work on its replacement.
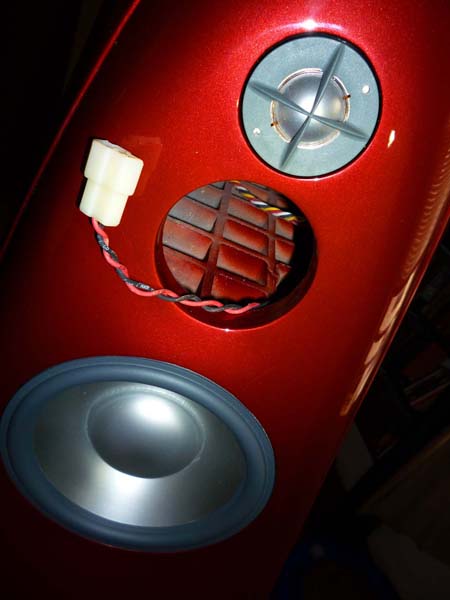
We very carefully unpacked the replacement drive-unit (seen here) and connected it to the tapered tube transmission line. <i>Without</i> damaging the new dome. Yikes!
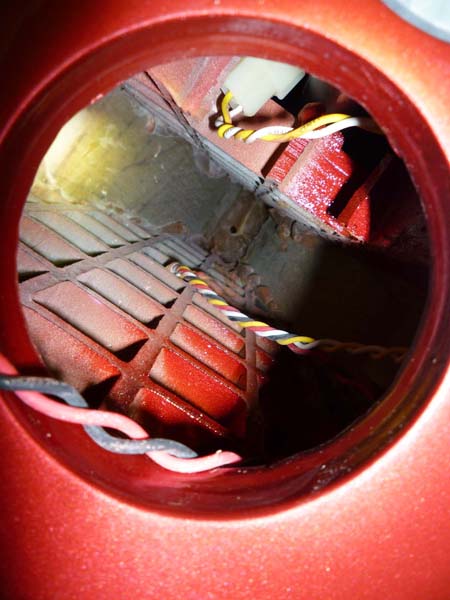
See that itsy-bitsy little hole way at the back of the speaker? Properly installing the replacement drive-unit meant lining up that itsy-bitsy little hole with the tapered end of the transmission line and locking it in place with a hex screw. So easy, a caveman could do it.
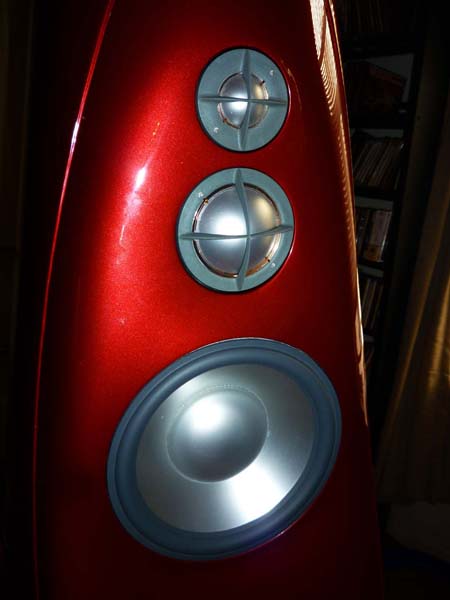
After several failed attempts, some sweating, and a bit of cursing, we were able to lock the replacement drive-unit into the Giya cabinet. Success! And then we realized we’d forgotten an O-ring…
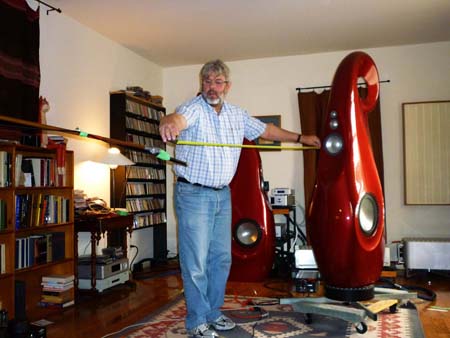
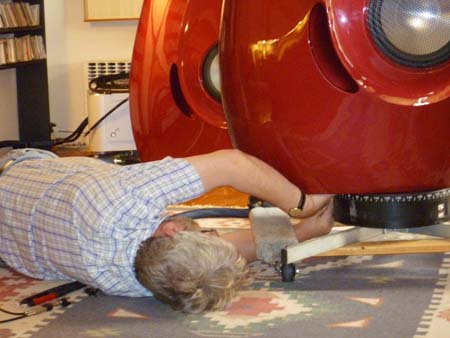
After we lifted the big Vivid Giya onto a rotating platter, JA got under the hood and connected the speaker cables to his test amp. JA <i>loves</i> it when speaker terminals are hidden beneath a speaker. For a larger view, visit <a href="http://forum.stereophile.com/photopost/showphoto.php/photo/2217/passwor… Gallery</a>.