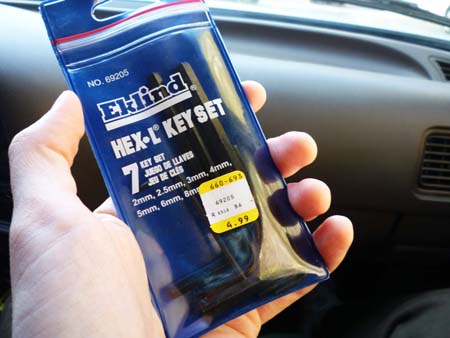
Every job requires a specific tool and replacing the Vivid G1Giya’s midrange unit would take a 6mm hex key, which we didn’t have. On our way to Wes’ place, therefore, John Atkinson and I made a quick stop at the local hardware store and purchased a hex key set. Then, we were ready to get to work.
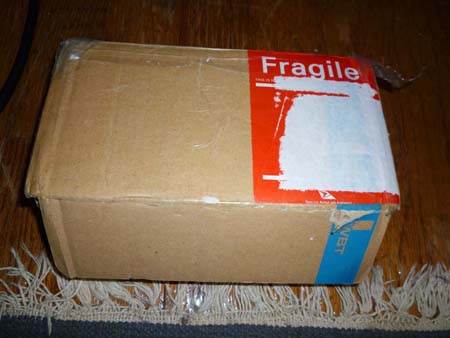
Upon opening the package, which had been shipped from South Africa, we found that one of the two replacement drive-units had been severely damaged. Crikey!
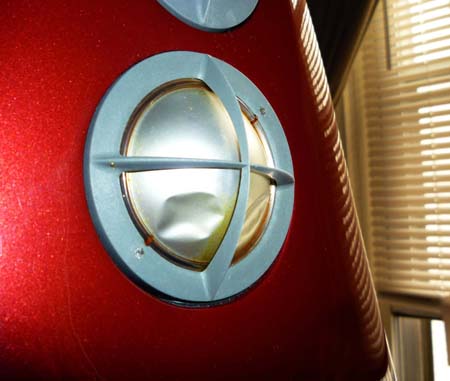
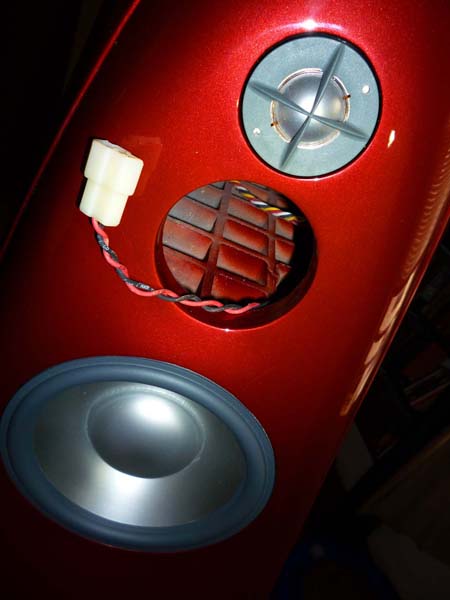
The Vivid G1Giya’s midrange drive-unit is connected to a tapered tube transmission line, which runs the depth of the speaker and attaches at the speaker’s rear via a long hex screw.
The Vivid G1Giya, designed by Laurence Dickie, incorporates the “tapered tube loading” concept originally developed for the B&W Nautilus. Inside the tapered transmission line are several strands of damping fiber.
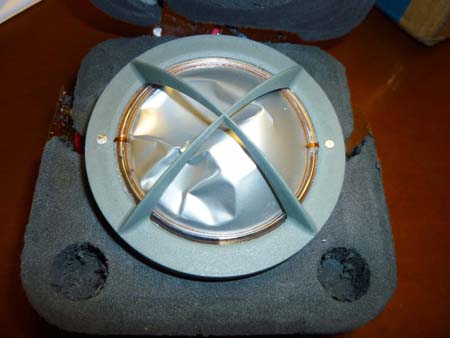
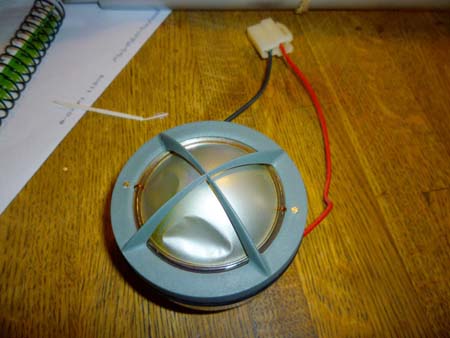
In the kitchen, we sat down and took a couple of deep breaths before moving on to the next few steps of the process, which I imagined would be infinitely more dangerous. We set down the damaged drive-unit (seen here) and got to work on its replacement.
We very carefully unpacked the replacement drive-unit (seen here) and connected it to the tapered tube transmission line. <i>Without</i> damaging the new dome. Yikes!
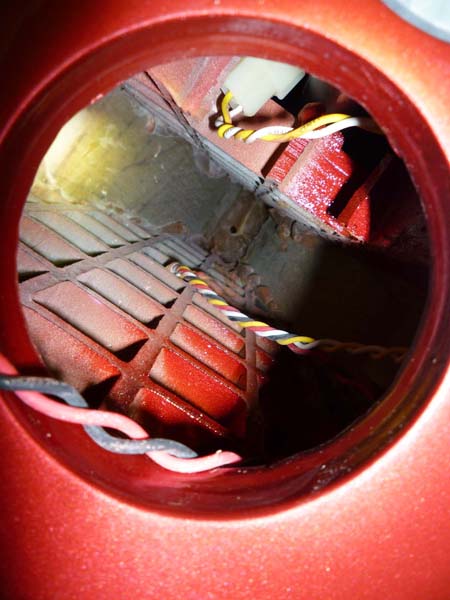
See that itsy-bitsy little hole way at the back of the speaker? Properly installing the replacement drive-unit meant lining up that itsy-bitsy little hole with the tapered end of the transmission line and locking it in place with a hex screw. So easy, a caveman could do it.