| Columns Retired Columns & Blogs |
Ahhhhhh yes lets just post a list without any reference or explanations at all. I think your blog is dubious.
Congrats on rebuilding a stone age mechanism to play warped dics that pop and crackle.
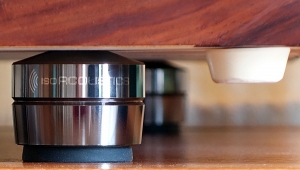
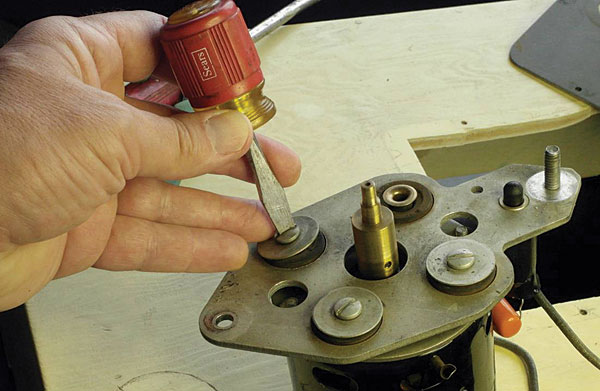
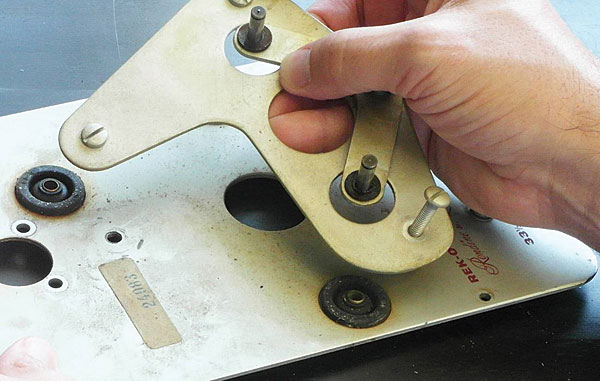
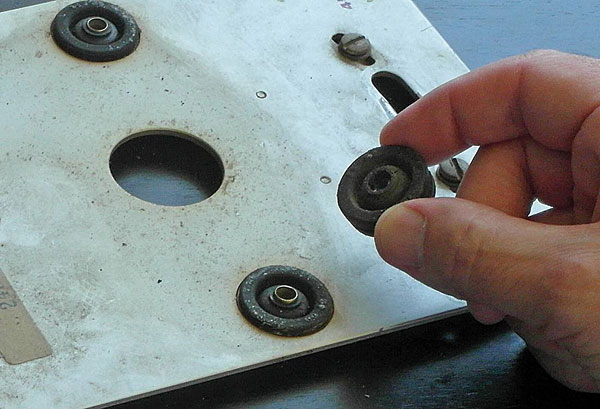
Easy enough. But my spirits sagged when I saw the condition of those rubber isolation grommets: All seven were cracked and apparently useless. On closer examination, I saw that every one of the grommets was embossed on one side with "LORD ERIE PA." A quick Internet search revealed that the maker of these "Lord mounts," as they're called—Lord Manufacturing of Erie, Pennsylvania ("A leader in solutions to noise—vibration, and shock!")—is still in business. A longer and far more tedious search of the many, many products on the Lord website indicated that Rek-O-Kut's standard grommet was Lord's current part number J-2924-4. Lord doesn't deal with the public, but their Buffalo, New York distributor, RPM Mechanical (www.rpmmech.com), was happy to take my money. The good news: The Lord isolation grommets were only 95¢ each. The bad news: I had to place a minimum order of 50, shipping additional. Knowing that at least three other Rek-O-Kuts are in the hands of friends, I pulled the trigger. Total expense so far: $160.
Far easier—and only slightly more costly—was the answer to the problem of worn, dirty idler wheels that seemed to have lost their pliancy. I acted on the advice of a friend and sent my idle pair to Terry Witt, of Terry's Rubber Rollers (www.terrysrubberrollers.com). Witt rejuvenates idler wheels and pinch rollers by replacing old rubber with new and then "truing" the outer surface to near-perfect concentricity; he charges only $35 per wheel for most sizes, plus $5 shipping. Although a performance review will have to wait until next issue, I received my redone Rek-O-Kut idlers just before the copy deadline for this issue, and they appear as new. New total: $240.
Uranus in the house
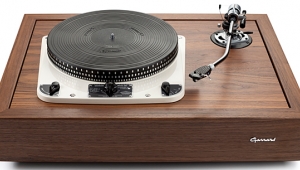
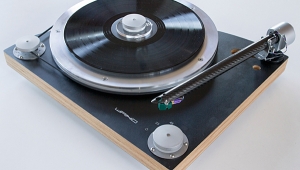
The hollow plinth that came with my Rek-O-Kut Rondine Jr., and measured 6" high by 13.75" deep by 18.5" wide, was large enough to accommodate only a standard 9" tonearm. It seemed to me that, in order to install the sort of transcription-length tonearm that God surely wants me to use with this turntable, I would have to add between 3" and 3.5" to the plinth's longest dimension. As I began to map out my new plinth, curiosity got the better of me, and I consulted one of the many online calculators for determining the dimensions of rectangles that conform to the legendary Golden Ratio. And I found that, by bumping up the width just the teensiest bit, from the planned 22" to 22¼", the shape of my plinth would be perfect—at least when viewed from above. (I could have completed the picture by also making it 81/2" high, but that would have been excessive, even for me.) If you find this distressing—and I can't say that I blame you—take comfort in the knowledge that, unlike some audio writers, I did not consult an astrologer before making this or any other important decision.
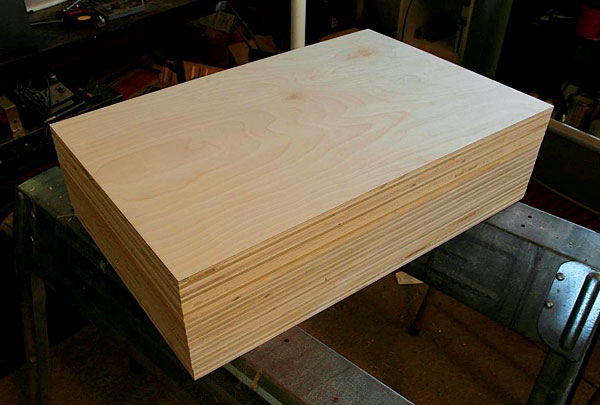
A single 4' by 8' by ¾" sheet of good-quality birch plywood costs about $50 in my area; with careful cutting, and depending on edge imperfections et al, such a thing can yield as many as 12 individual layers of appropriate dimensions. As it happened, I decided to limit myself to eight layers—but I cut carefully nonetheless, recalling the drudgery of using a sander to true up a multilayer plinth. Out-of-pocket expenses so far: $290. I know people who wouldn't even consider an AC cord that costs so little!
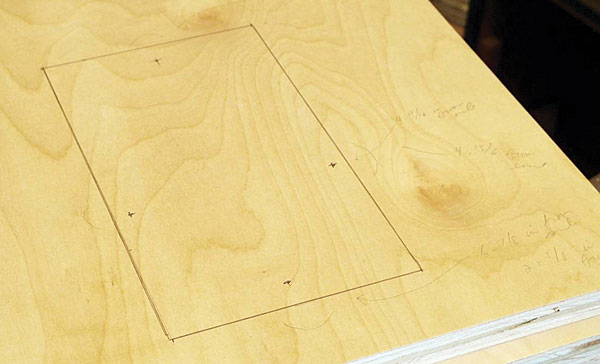
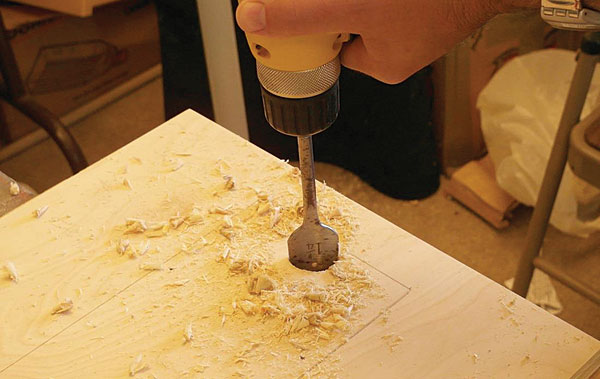
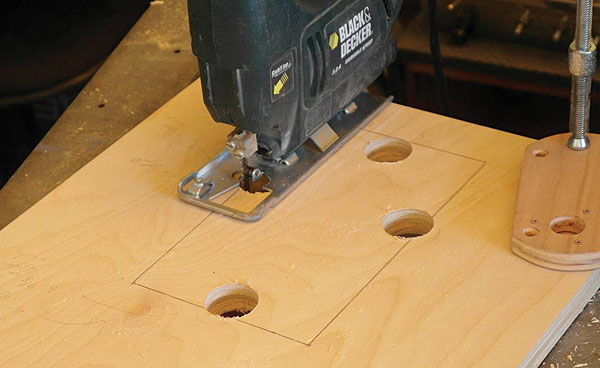
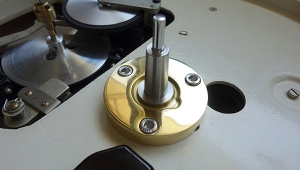
Mounting templates for the Rek-O-Kut Rondine Jr. are available online (most notably from www.vinylengine.com), but you can just as easily do without: The basic opening is a simple rectangle measuring 83/8" by 51/8". Use a grinder or a half-round file to enlarge the opening on the two short ends, so the plinth can accommodate the tip of the motor plate (near end) and the mounting flange of the platter bearing (far end). Then, on both sides of the opening, about 3¼" from the near end, use a jigsaw to make shallow curves to accommodate the isolation grommets on the underside of the main plate. (This can also be done using a 2" hole saw, prior to cutting out the main rectangle.)
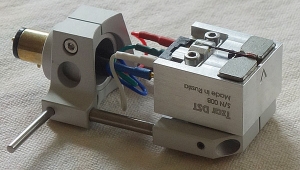
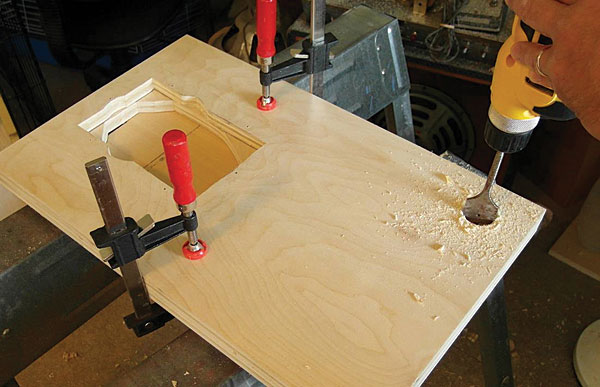
I decided ahead of time to partner my Rek-O-Kut Rondine Jr. with the high-value Thomas Schick 12" tonearm ($1675). To ensure the utmost in alignment precision, I'll wait until the Rondine Jr. is installed on its finished plinth, its platter in place, before mapping out and drilling the Schick's top-layer mounting hole. But to guarantee a neat and sufficiently large tonearm cavity in subsequent layers, I mounted the Jr. on layer No.2, drew from the center of the spindle an arc with a radius of 12" (the Schick's mounting dimension), marked the best point along that arc, and drilled a 1 3/8" hole, which I neatly copied onto layers 3 and 4. I also cut identical rectangular channels in layers 2 through 4, for the tonearm cable and its phono plugs to exit, and a similar but larger channel next to the motor cutout of layer 5, allowing the AC cord and plug to exit.
Next month: gluing and sanding the plinth; installing the new isolation grommets; lubricating, reassembling, and installing Jr. (sounds like North Korea!); polishing the platter; and drilling and installing the tonearm. Stay tuned.
|
| |||||||||

Ahhhhhh yes lets just post a list without any reference or explanations at all. I think your blog is dubious.
Congrats on rebuilding a stone age mechanism to play warped dics that pop and crackle.

JRusskie,
It's only your last recording of Gorbachev singing "Glasnost, Glasnost, The New Tomorrow" that pops and crackles!
Rebuilding a Rondine certainly must be fun...for the builder. But to read about it in a magazine devoted to high end audio is not what I pay my hard earned for. This is extremely fringe stuff.
It was a bit of a slog reading through the Thorens and Garrard rebuilds, plinth contructions etc. but this is just way too much boring information.
Stereophile is losing the plot line as far as I'm concerned.
Very very disapointing.
Used and Vintage components are an integral part of this hobby. But where do you place vintage and used in relation to brand new? There are some components that were good in their day, but would evidence limitations if compared with the new components of today. There are others that have not only stood the test of time, but also compare very favorably with the best of today. It is in the later context that AD has chronicled his sojurn into vintage components. Just as you would not use a 40 or 50yr old car without sutiable maintenance, audio components of similar vintage requires mechanical service to ensure safe and consistent performance. AD is lucky in being able to perform most of the restoration work on his own. For others, there are many techs who can do the work for a modest cost. That said, what AD has abely demonstrated is that with careful consideration and sympathetic restoration, many components once consigned to the dust bin are capable of performance rivaling brand new components but at a much lower monetary cost. Regarding the RoK, his final expenditure, including arm and cartridge, will likely be much less than if he were to have purchased similar performance off the shelf. And he will have the satisfaction of knowing that he did it with his own hands. To some that is part of the fun.

50 % love and 50% pride of ownership.
Sorry, but I got one of these in '68 on the $5 table at Bay Bloor radio. Cost me an extra $10 for the rek-o-kut headshell. Massive rumble, no matter what I did. Guess thats why they sold these for 5 bucks. Even the rumble filter of my Scott 130 (another $5 table special) didn't help. 0% love......
Not sure anyone will see this 4 years later, but here goes. This is the type of article my dad would have loved. Too bad the internet wasn't invented by the time he died. Here is a link to a thread I started in the forum, trying to find someone interested in this vintage turntable:
http://www.stereophile.com/content/want-find-good-home-vintage-rek-o-kut-jr-l-34


| Loudspeakers Amplification Digital Sources | Analog Sources Accessories Featured | Music Columns Retired Columns | Show Reports | Features Latest News Community | Resources Subscriptions |
 © 2024 Stereophile